Common Mistakes When Caring for Tinted Windows: Essential Tips to Avoid Damage
CALL (260) 436-9274
When you invest in tinted windows for your home, you're not just making a style choice; you're also enhancing privacy and reducing glare. However, many people aren’t aware that caring for those tinted surfaces comes with its set of guidelines. Neglecting proper care can lead to unsightly bubbles, peeling film, or worse—a diminished view that undermines your investment. Understanding the common mistakes surrounding tinted window maintenance is essential to keep them looking sharp and functioning well for years to come.
Common mistakes to avoid when caring for tinted windows include rolling down the windows too soon after installation, using ammonia-based cleaners, which can damage the film, and failing to consult local tint regulations. By understanding these mistakes and following proper care guidelines, you can ensure your tinted windows remain in top condition and provide the maximum benefit for years to come.
Cleaning Tinted Windows
First and foremost, it's crucial to understand that not all cleaning solutions are equal when it comes to window tints. The wrong choice can lead to unwelcome results, such as peeling or bubbling. For instance, ammonia-based cleaners should be strictly off-limits. They might seem effective for cleaning regular glass, but they can erode the adhesive that holds your tint in place. You want your films to stay firmly in place; otherwise, you could ruin the aesthetic of your vehicle completely. So what options should you consider? It's best to lean towards products that are gentle yet effective. Here are some top choices:
- pH-neutral liquid soaps: These are formulated to clean without causing harm. Just mix a small amount with water for a safe solution.
- Distilled white vinegar: Powerful in its way, but use sparingly; even too much vinegar can affect the tint.
- Specialized window tint cleaners: Designed specifically for tinted surfaces, these commercial products ensure you don’t inadvertently damage the film while cleaning.
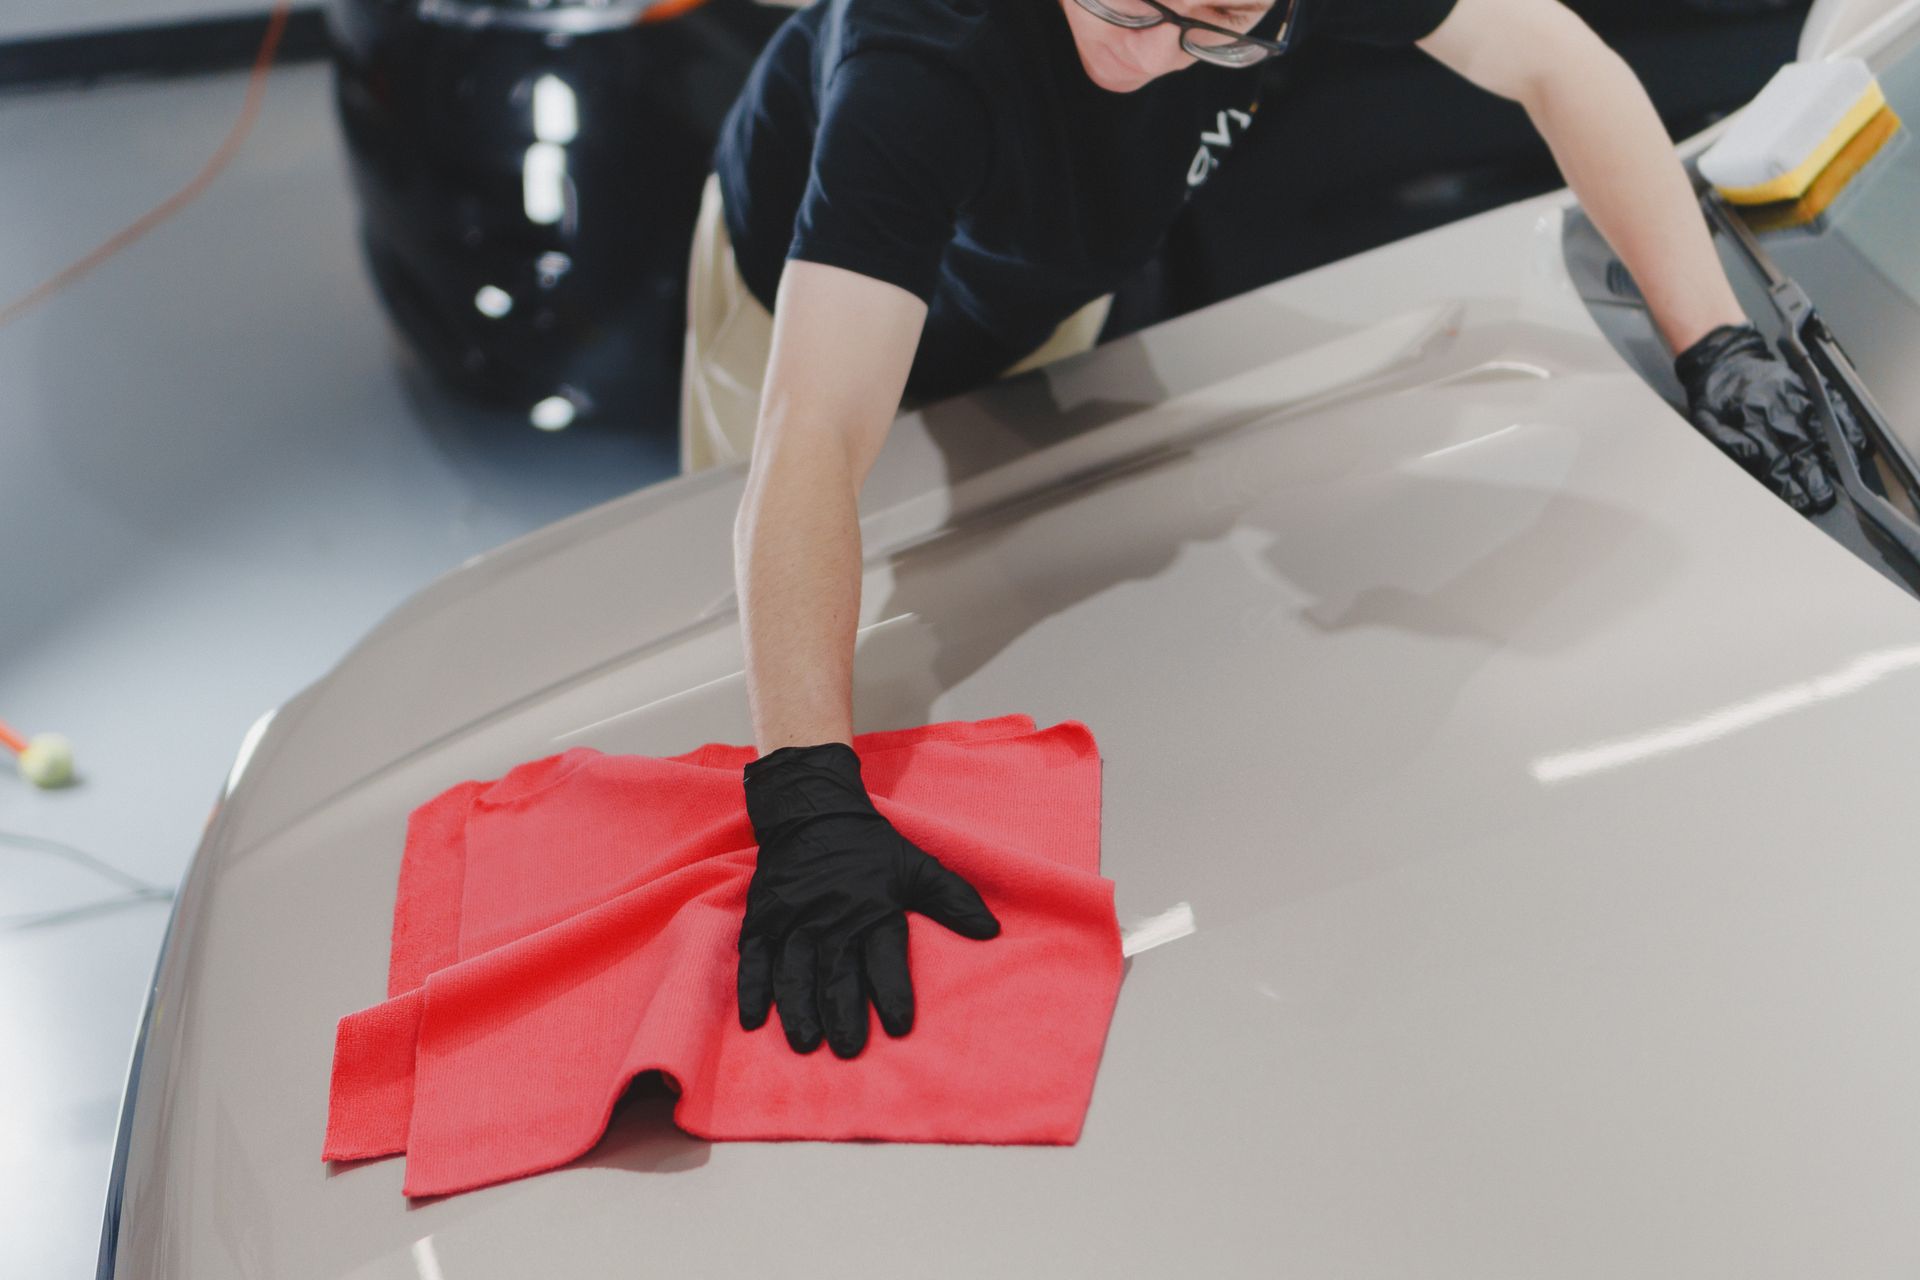
While some may argue that DIY solutions suffice for cleaning tinted windows, many professional detailers advocate for using dedicated products. Good-quality cleaners designed specifically for this purpose often yield superior results—clearing grime effectively while preserving the integrity of the tint. Moreover, cleaning habits matter just as much as the products you choose. When using any cleaner, always opt for a microfiber cloth instead of paper towels or abrasive sponges. Microfiber is soft enough to ensure no scratches mar your tinted surface, helping maintain that flawless finish. Additionally, it’s essential to clean your tinted windows in a shaded area; heat from direct sunlight can cause streaking during the drying process.
Effective Cleaning Method
When it comes to cleaning tinted windows, understanding a systematic approach is vital. Many people overlook the importance of proper cleaning methods, which can lead to unsightly scratches or smudges that detract from the beauty of the tint. As you explore this step-by-step process, appreciate how each action contributes to preserving your window tint and maintaining clarity.
Step-by-Step Cleaning Method
- Pre-Cleaning Preparation: Before starting, make sure your windows are cool to the touch. Heat from sunlight can cause cleaners to evaporate too fast, which leads to streaks and reduces effectiveness. To check, place your hand on the glass—if it feels warm, give it time to cool. Once ready, use a microfiber cloth to gently dust off any loose particles. This step prevents scratches during the deeper cleaning stages. Think of it as setting the stage for a smooth, streak-free result.
- Applying the Cleaning Solution: After dusting, spray your cleaning solution evenly across the window’s surface. You want enough to lift the grime, but not so much that it overwhelms the film. Let the solution sit for a few seconds to soften dirt—but don’t let it dry. This short wait helps break down tough spots without affecting your window tint’s adhesive. Timing is everything here—just a quick pause and you're ready for the next step.
- Wiping Down: Now, take a clean microfiber cloth and begin wiping the surface using light, circular motions. Focus on lifting the softened grime without pressing too hard. The key is consistency—make sure every area is covered evenly. Avoid over-scrubbing, which can wear down the film or create swirl marks. A gentle, steady hand will always give you the best results on tinted glass.
- Final Drip Dry: For corners and edges, switch to a soft-bristled brush or toothbrush to reach dirt tucked away in tight spots. Work carefully to avoid pressure that could harm the film. Once done, pat dry any leftover moisture using another clean microfiber cloth. Avoid rubbing—just light dabs. For that final touch, wipe with a lint-free cloth to bring out a smooth, gleaming finish that enhances your vehicle’s look.
Cleaning might feel like a chore, but treating your tinted windows well ensures they maintain their charm for years. By following these steps with intentionality and care, you're not just cleaning windows; you're maintaining an important aspect of comfort and safety in your vehicle or home.
Post-Application Care Tips
The initial 72 hours after applying window tint are critical for allowing the adhesive to cure adequately. During this crucial time, you should avoid washing your car or rolling down the windows, as these can dislodge the tint from its intended position. It's a bit like letting a cake cool before slicing into it—you wouldn't rush that process! In fact, it's wise to resist placing any heavy objects against the windows during this period; even modest pressure could compromise the bond and lead to issues like bubbling or peeling. Once that initial waiting period has passed, you'll want to adopt some best practices to ensure your tinted windows retain their clarity and effectiveness over time. For instance, be mindful of what cleaning agents you choose. It’s essential to avoid ammonia-based cleaners, as they can harm the tint film and diminish its longevity. Instead, opt for a pH-neutral cleaner that is specifically formulated for tinted surfaces—these will help maintain the integrity of the film without causing damage.
Additionally, experts recommend using a soft microfiber cloth when cleaning your tinted windows. This material is gentle enough to prevent scratches while effectively removing dirt and grime. Think about it: you'd never use sandpaper on a glass surface, so why treat your prized window tints any differently? It's also beneficial to clean your tinted windows in the shade. Direct sunlight can cause streaks and make it harder to achieve an even clean because cleaning products can dry too quickly. Regular maintenance doesn't stop at cleaning; it's critical to inspect your tinted windows periodically for any signs of wear or damage. Check along the edges for any peeling or bubbling—a quick glance every now and then can save you trouble down the line! If you notice any imperfections post-installation, don't hesitate to reach out to your installer right away. Addressing these issues early often prevents them from worsening and ensures you'll enjoy those newly tinted windows just as they were intended. These care guidelines will preserve and enhance the benefits of your window tinting investment over time.
Common Pitfalls to Avoid
- DIY Application: Many of us are enticed by the idea of saving money with DIY window tinting kits. However, the allure of lower costs often comes with hidden risks. When people attempt installation themselves, they can easily end up with bubbles, wrinkles, or uneven layers. Installation errors can lead to peeling sooner than expected, turning a budget-friendly option into an expensive headache. Just imagine the frustration you'll feel when you invest time and materials only to have your newly tinted windows look like a bad art project. Professional services, on the other hand, come equipped with experience and specialized tools that ensure a smooth finish and adherence to your windows. Alongside proper installation, regular maintenance plays a vital role in keeping your tints looking fresh and functional.
- Neglecting Regular Maintenance: Skipping maintenance might feel inconsequential at first glance, but neglecting regular cleaning can lead to significant problems over time. Dust and grime gather on tinted surfaces, making them appear dull and lacking vibrancy. Moreover, unnoticed bubbles can expand if left unchecked, further compromising the adhesive bond. To counter this problem, make it a habit to inspect your tints regularly—much like a routine checkup for your health! Consistent care enhances appearance and allows you to catch small issues before they escalate into costly repairs. Maintaining beautiful tints isn't just about cleaning; the environment also plays a crucial role in preserving their integrity.
- Ignoring Temperature Extremes: The weather can be quite unpredictable, and extreme temperatures—whether hot or cold—can wreak havoc on your window tint films. High heat can cause the adhesive to break down, leading to bubbling or warping. On the flip side, freezing conditions can also negatively impact the durability of your tints. To combat these risks, park your car in shaded areas whenever possible or use windshield sun protectors to shield against direct sunlight. For those chilly winter months, being mindful of where you park can prevent stress on your tint as well. Awareness about environmental impacts extends beyond temperature; even cleaning products require careful consideration.
- Using Improper Cleaners: It's tempting to reach for whatever cleaning product is nearby when you're sprucing up your ride. Yet, using ammonia-based or abrasive cleaners poses a significant danger to tinted windows. These harsh chemicals can strip away protective layers and damage the film itself. Instead, opt for gentle solutions specifically formulated for tinted surfaces; consider them to be nurturing oils for your skin! With proper care and suitable products on hand, you're helping ensure that both clarity and quality are maintained.
By steering clear of these common pitfalls—from improper installation techniques to neglectful upkeep—you’ll amplify the life and performance of your tinted windows, ultimately making your investment worth every penny.
In summary, maintaining awareness about proper installation and treatment is essential for preserving quality and longevity in tinted windows. With careful attention and the right practices, you can enjoy the benefits without compromise.
Expert Window Tinting Solutions for Vehicles in Fort Wayne, IN
14/69 Super Center in Fort Wayne, IN, offers
high-quality window tinting for vehicles that combine sleek aesthetics with serious protection. Whether you're aiming to reduce glare, block harmful UV rays, or add a layer of privacy to your vehicle, our expert team uses top-grade film and precision installation to get the job done right.
Schedule your tinting service today and experience the difference quality craftsmanship makes!


