Quality Control Measures for Coating Finish: Achieve Perfection with These Techniques
Achieving a flawless coating finish can often feel like a puzzle with missing pieces. Have you ever wondered why some paint jobs stand out while others seem lackluster? The secret lies in the quality control measures taken before, during, and after the application process. It's not just about applying a paint coat; it's about adhering to specific steps that ensure long-lasting results. Let’s dive into these crucial quality control measures that pave the way for perfect finishes every time!
To ensure a perfect coating finish, quality control measures should include proper surface preparation, such as ensuring surfaces are clean and dry for optimal paint adhesion, and conducting regular inspections during the application process to catch and correct defects early. Additionally, investing in staff training to enhance their skills and utilizing appropriate tools, like rollers instead of brushes for smoother application, can significantly improve the outcome.
Pre-Application Quality Control Procedures
Setting the stage for a high-quality finish begins long before the paint touches the surface. It is crucial to implement a systematic approach that involves several steps, ultimately ensuring that the project meets its specifications and expectations.
- Review Project Specifications: Professional applicators start with a profound review of project specifications. This step includes understanding environmental factors (temperature, humidity), substrate conditions, coating types, required finish (e.g., matte, gloss), and performance expectations. This phase ensures no assumptions are made and that every decision aligns with the project's scope and client requirements.
- Sample Testing: Before large-scale application, professionals conduct sample testing on controlled areas using the same materials and equipment as the final job. These trials assess color uniformity, texture, adhesion, and overall compatibility. Sample tests help teams anticipate issues and fine-tune processes in advance—saving both time and material during production.
- Establish Quality Benchmarks: Establishing measurable benchmarks such as film thickness ranges, acceptable texture variance, and gloss levels is critical. These standards provide a reference point for in-process and final inspections, ensuring uniformity across the entire project and minimizing costly rework.
Effective pre-application quality control lays the foundation for a successful coating project. By thoroughly reviewing specifications, conducting sample testing, and establishing clear quality benchmarks, professionals minimize risks and ensure consistent, high-performance results. This proactive approach enhances the final finish and supports efficiency, client satisfaction, and long-term durability.
Selection of Materials and Equipment
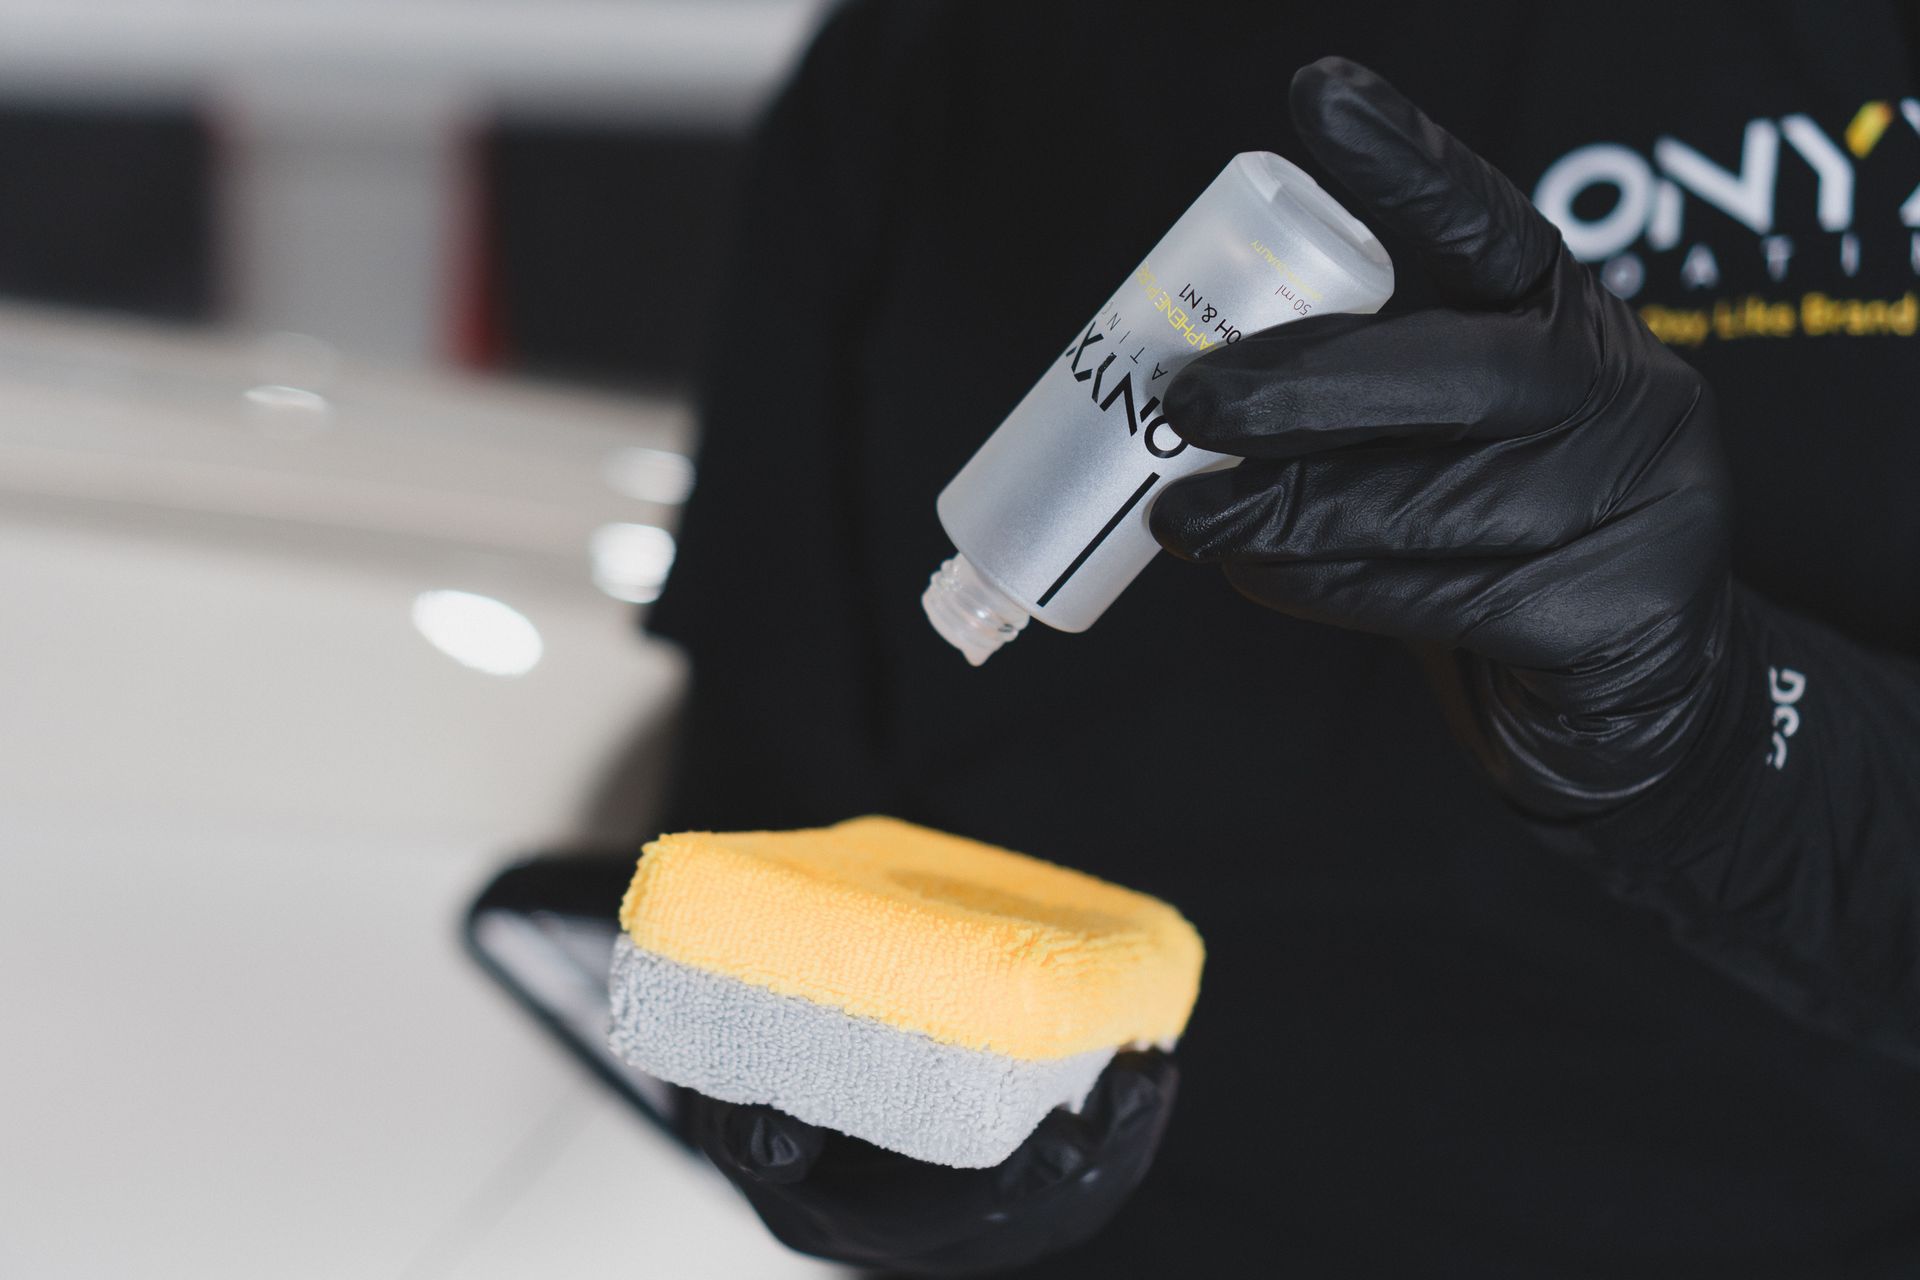
Choosing the right materials and equipment is akin to an artist selecting the perfect canvas and brushes for their masterpiece. In coating applications, high-quality materials serve as the foundation for durability and aesthetic appeal. They ensure that the finished product not only looks stunning but also stands the test of time. Using premium coatings results in better adhesion and enhanced resistance against environmental factors such as UV rays and moisture.
- Importance of High-Quality Coatings: Premium coatings are designed with advanced formulations that resist fading. In contrast, lower-quality options might require frequent touch-ups and repairs; this ongoing maintenance can detract from productivity and inflate costs. Imagine spending extra time re-applying coats every season simply because you opted for low-cost solutions. Investing in high-quality coatings is not merely about the initial expenditure; it’s about long-term savings in both time and money. While selecting materials, consider the environment where the coated surface will reside. For outdoor applications, look for coatings that offer UV protection and weathering resistance. Indoor applications might allow for more flexibility, but choosing a product that withstands wear from cleaning or human contact is essential for maintaining aesthetics over time.
- Tool Selection for Efficiency: The right tools play a critical role in ensuring a smooth and efficient application process. High-density foam rollers are ideal for smaller projects, offering a flawless finish without leaving texture marks. For larger surfaces such as walls or industrial equipment, airless spray guns provide excellent coverage and can reduce paint waste by up to 25%. Low-pressure airless sprayers, in particular, help maintain a steady workflow while delivering an even coat across varied surfaces. It's recommended to test tools on a small area beforehand to evaluate compatibility with the chosen coating. Equally important is regular maintenance—well-maintained equipment ensures consistent results and extends tool longevity.
- Consistency in Equipment Calibration: Regular calibration checks help mitigate risks associated with inconsistent material dispensing, which could lead to uneven finishes or the need for recoating—issues best avoided. Each piece of equipment should be meticulously maintained, akin to nurturing a fine instrument for optimal performance. To streamline this process, consider developing a calibration schedule tailored to the specific needs of operations. This could include daily checks before production runs or monthly deep inspections for complex machines like spray booths or mixers. Such diligence not only prevents future complications but also significantly enhances overall product quality, leading to higher customer satisfaction and consistent results.
By focusing on selecting high-quality materials, combined with effective tools and diligent equipment maintenance, experts set themselves up not just to meet standards but to exceed them—each coating project becoming a testament to their commitment to excellence.

Surface Preparation Standards
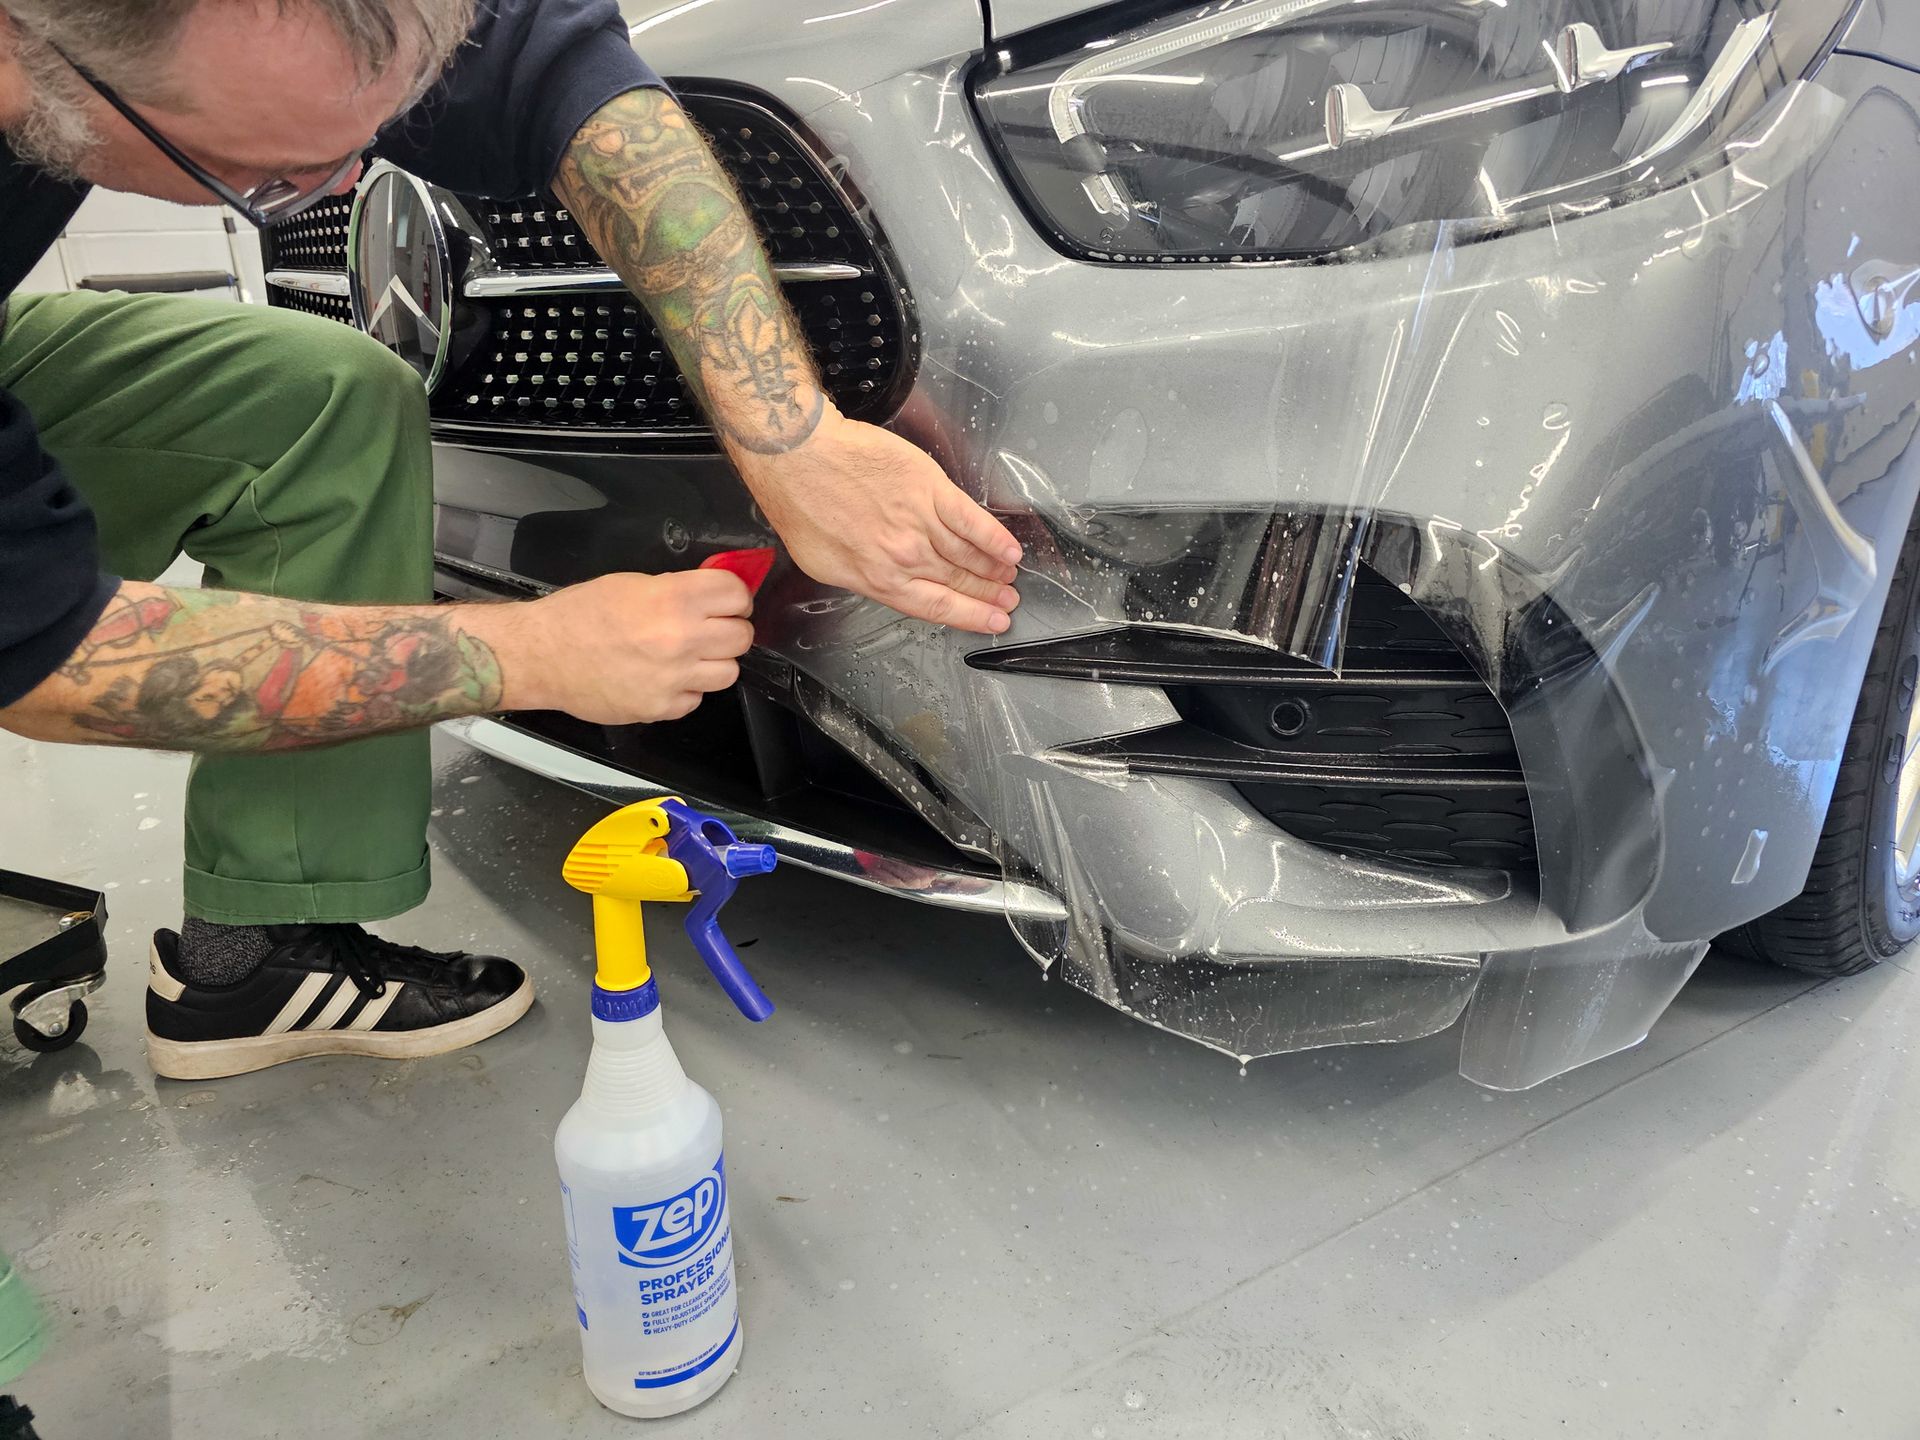
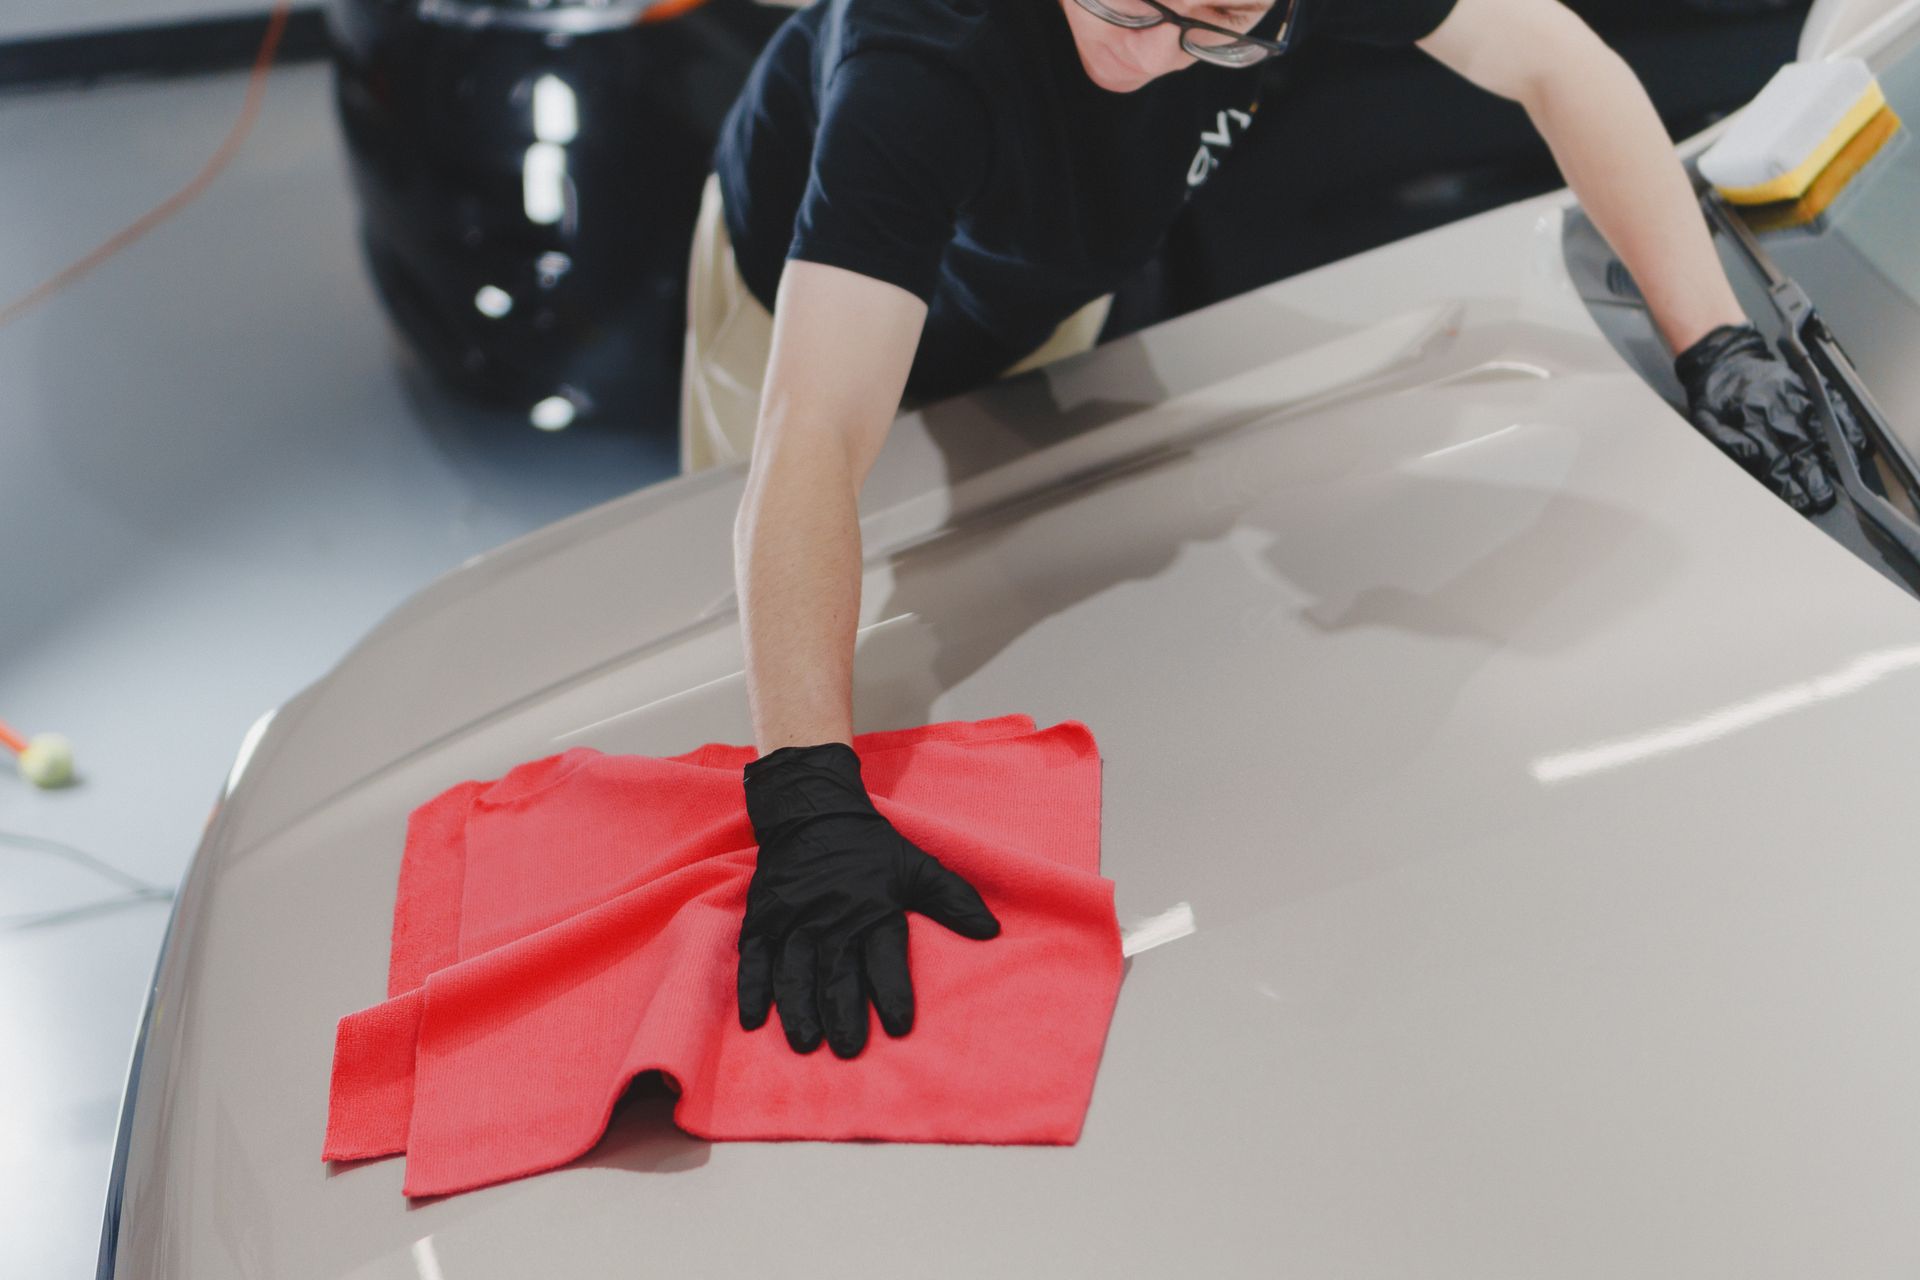
Proper surface preparation is the cornerstone of any successful coating application. It's not just a step in the process; it can make or break the final result. When surfaces are clean and well-prepared, the new coating bonds effectively, ensuring longevity and durability. The first rule of thumb here is cleanliness. Surfaces must be thoroughly cleaned to eliminate dirt, grease, dust, and any previous finishes. Imagine applying a fresh coat of paint over a layer of grime—it simply won’t stick properly. According to industry guidelines, if contaminants are present, power-washing or chemical cleaning methods should be employed. This step lays the groundwork for a successful application; a clean surface is essential for optimal adhesion.
Importance of Cleaning
Each surface planned for coating must be pristine, as even the smallest particles can hinder bonding. These particles can trap air and moisture, leading to bubbling or peeling in future applications, and may also separate the substrate from the coating. By focusing on thorough cleaning, experts set themselves up for success from the start. Additionally, it's essential to refer to industry standards, which recommend addressing potential contaminants directly to ensure compliance and quality in the project. After giving surfaces the necessary attention through diligent cleaning, addressing visible imperfections is crucial before proceeding with any coatings.
Surface Defect Identification
After cleaning the surfaces, experts should carefully inspect for any defects such as cracks, holes, or uneven areas that could potentially damage the finish. This stage is akin to priming a canvas, as any blemishes will become apparent once the coating is applied. Effectively repairing these issues is essential. A high-quality filler can work wonders for closing gaps and smoothing imperfections, ensuring the final result has a professional appearance. Industry standards recommend filling imperfections generously and thoroughly sanding them smooth afterward to preserve coating integrity and enhance visual appeal.
Abrasion Techniques
Employing abrasion techniques such as sanding or blasting on smooth surfaces can significantly enhance coating adhesion by creating a "tooth" that helps secure the new layer more effectively. These methods improve adhesion and help remove residual contaminants like rust or old paint residues that could compromise performance. While roughening a surface may seem simple, it can yield outstanding results, ensuring lasting beauty. Additionally, it’s crucial to consider environmental factors like humidity and temperature, as they can greatly influence drying times and overall results during the finishing process.
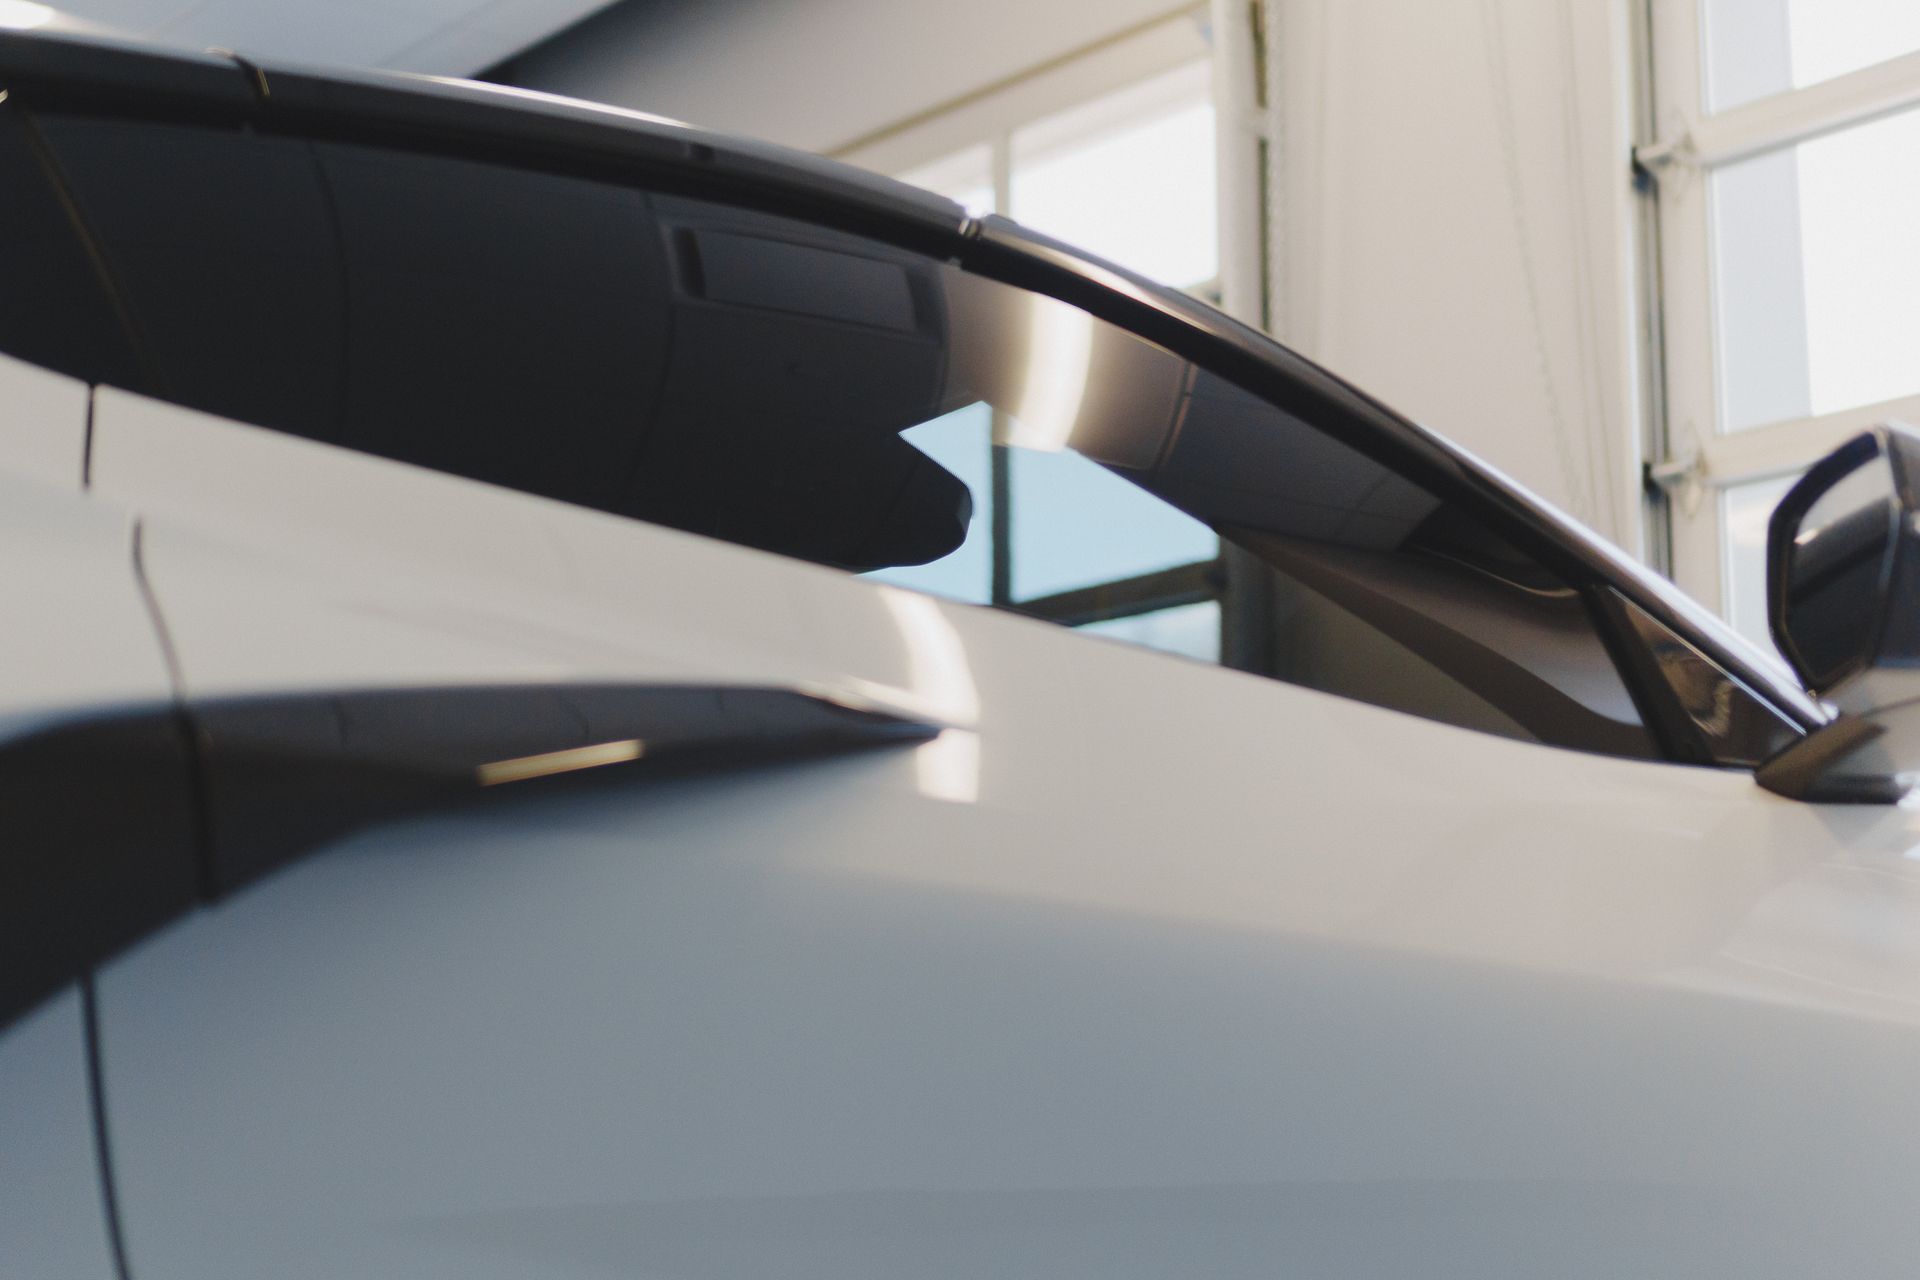
Coating Thickness Measurements
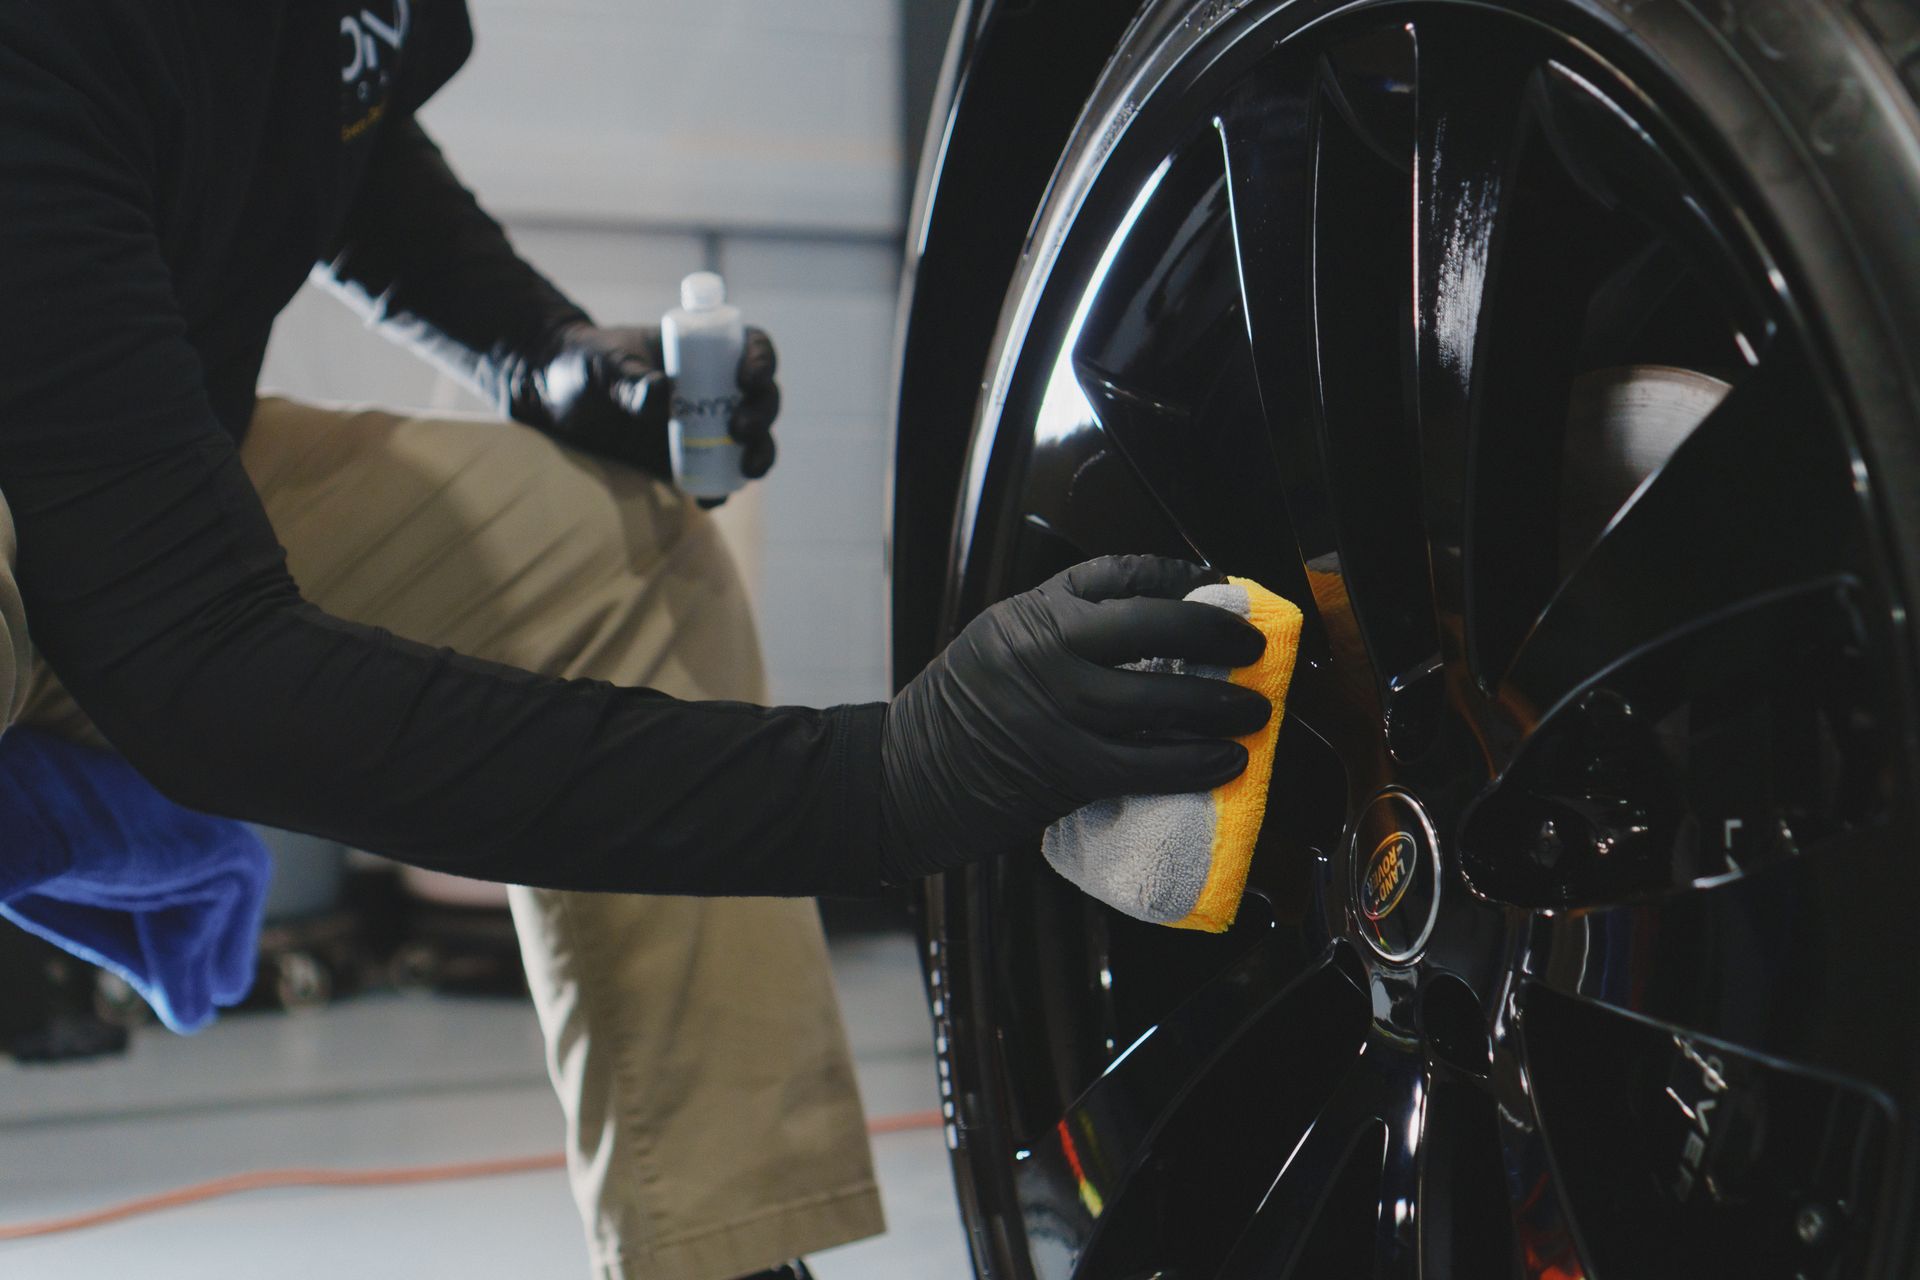
Understanding how much coating to apply is key. An optimal thickness isn't just about aesthetics; it ensures the longevity and performance of the finish. For instance, automotive finishes generally require a thickness of 50-100 micrometers (µm), while industrial applications may necessitate thicker coatings, sometimes reaching 100-200 µm. A well-executed job not only provides a glossy appearance but also protects surfaces against corrosion and wear. One of the most reliable ways to measure this thickness involves employing specialized tools like dry film thickness gauges and wet film thickness gauges. The dry film gauge typically uses magnetic induction to provide precise readings in mils (where 1 mil equals 25.4 µm), while a wet film gauge employs a notched blade for immediate measurements taken right after application. This instills confidence that you're applying just the right amount of coating during each layer. Consistent checks at various points across the surface ensure a uniform application, avoiding those uneven patches that can come back to haunt you later on.
- Methods of Measurement: Accurate measurement of coating thickness is essential for quality control. Measurements should be taken at multiple points—more frequently for heavier coats or large surfaces—to prevent issues like spotting or sagging. Equally important is regular calibration of gauges to ensure reliable readings; even slight inaccuracies can compromise the finish. Investing in proper monitoring tools and maintaining their accuracy pays off in aesthetics, durability, and consistent project success.
- Environmental Controls: Environmental conditions play a critical role in the success of any coating application. Maintaining stable and optimal settings—particularly temperature and humidity—is essential for achieving a consistent, high-quality finish. Fluctuations in temperature or excessive moisture can lead to issues during both application and curing, potentially compromising the integrity and appearance of the coating. Effective environmental control is not a secondary consideration but a core component of a controlled, professional-grade application process.
- Temperature and Humidity Levels: Professional applicators aim to maintain application environments within optimal temperature and humidity ranges. For most coatings, ideal conditions typically fall between 50–85°F and 40–60% relative humidity. Maintaining this balance is critical: excessive humidity can cause bubbling and extended curing times, while low humidity may accelerate drying, increasing the likelihood of cracking. When environmental conditions are not properly controlled, even a well-executed application can result in compromised surface quality, such as bubbling, uneven texture, or visible defects.
- Ventilation Requirements: Proper ventilation plays a critical role in promoting efficient drying and minimizing the concentration of potentially harmful fumes released during coating applications. Professional applicators often utilize exhaust fans to extract stale, fume-laden air and replace it with fresh air from outside, ensuring continuous airflow throughout the workspace. In environments where exhaust systems are unavailable, improving natural ventilation by opening windows can still offer substantial benefits. Maintaining adequate air circulation is essential not only for health and safety but also for achieving a consistent, high-quality finish.
- Dust Control: Dust and airborne contaminants pose a significant risk to achieving a flawless coating finish. Even microscopic particles can settle on wet surfaces, leading to imperfections that compromise the overall appearance and quality. To mitigate this risk, experienced professionals implement strict dust control protocols within the workspace. Utilizing air purifiers helps reduce particulate matter, creating a cleaner environment conducive to precision work. Whenever feasible, performing applications in controlled environments with regulated airflow and cleanliness further enhances the outcome and supports consistent, professional results.
A comprehensive understanding of how environmental factors—such as temperature, humidity levels, ventilation, and dust control—impact the coating process is essential for achieving superior, consistent finishes. Mastery of these elements ensures optimal results and enhances the overall quality of the application.
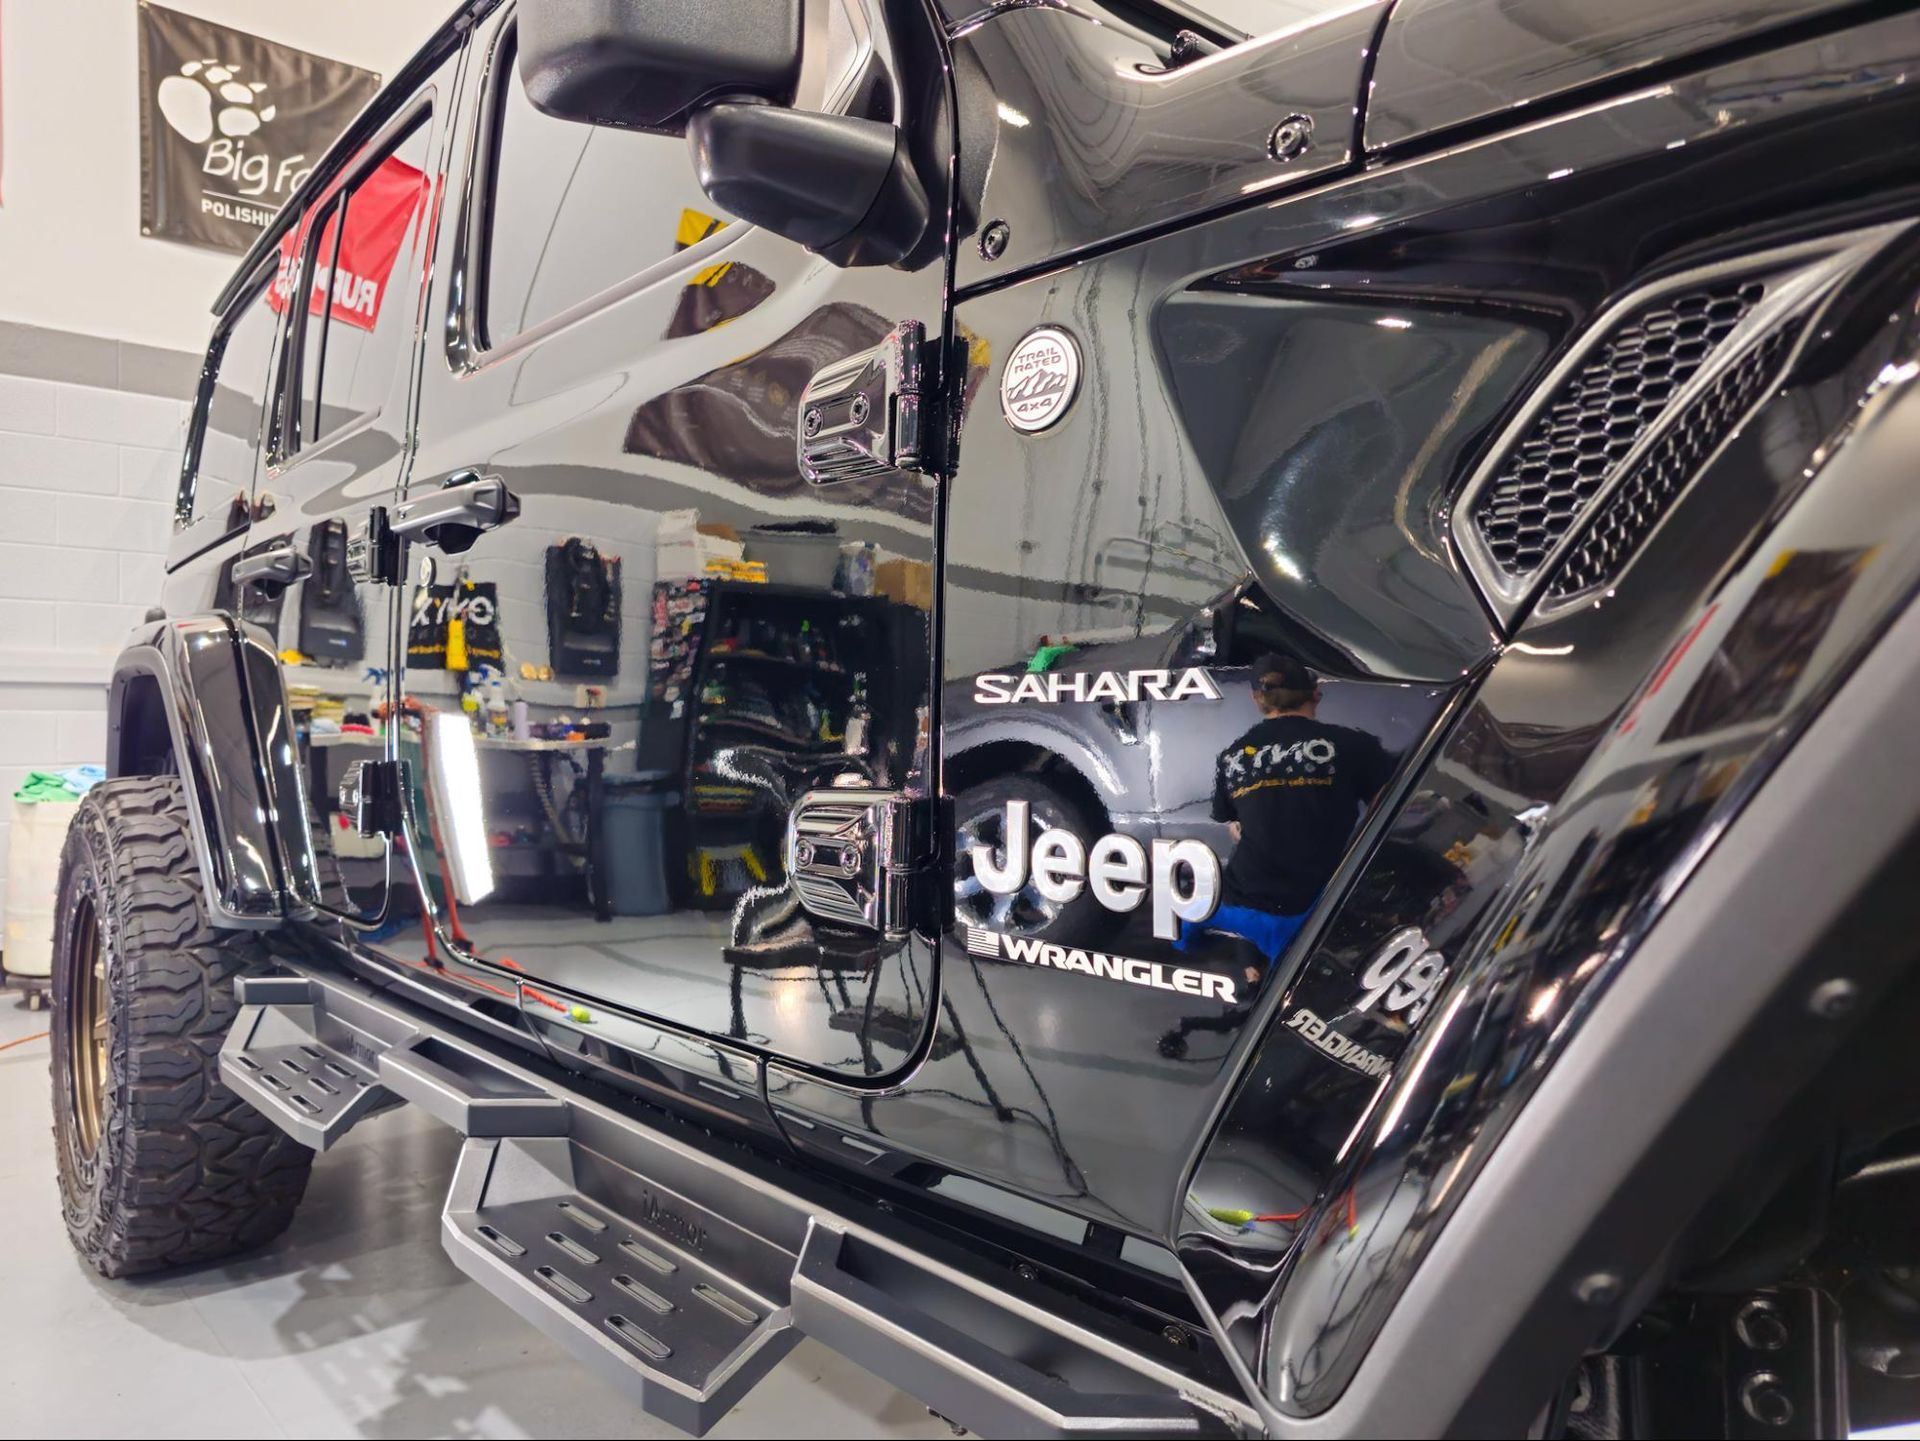
Visual and Final Inspections
The importance of thorough visual and final inspections cannot be overstated in the powder coating process. Imagine standing in front of a freshly coated metal surface, admiring its sheen and color, only to discover defects hidden from the naked eye after the coating has cured. That's why detailed visual inspections are a non-negotiable aspect of maintaining high-quality finishes. Inspecting under adequate lighting is crucial. A simple mistake can lead to overlooked inconsistencies—runs, sags, or thin spots—degrading the quality of the work.
Visual Inspection Techniques
A thorough visual inspection is essential for identifying imperfections and ensuring the coating meets project specifications. Conduct the inspection from various angles to prevent shadows from concealing defects. Enlisting a colleague for a second set of eyes can enhance accuracy during this process. Beyond visual checks, it is equally important to verify proper adhesion of the powder coating to the substrate to ensure long-lasting results.
Adhesion Testing
Adhesion testing is a critical process in powder coating, ensuring that the coating bonds properly for optimal durability and performance. While an aesthetically pleasing finish is important, proper adhesion is essential for long-term results. Techniques such as the cross-cut and pull-off tests provide measurable data on the quality of the application. The cross-cut test, for example, involves making precise cuts through the coating down to the substrate and evaluating the degree of film detachment. To achieve accurate results, ensure tools are clean and sharp, as inconsistencies in the test could lead to unreliable data. Once the adhesion tests are complete, the final step is to document the findings and secure approval before concluding the project.
Final Approval
The final stage of inspections involves a thorough review of findings before granting project approval. Documenting every detail serves as a key quality assurance practice, significantly reducing future repair costs. Studies show that projects with comprehensive final inspections can reduce repair expenses by up to 40%, offering substantial savings in both time and money. This step highlights the importance of attention to detail, as even minor oversights can result in costly corrections later. By performing thorough visual and final inspections, professionals ensure not only an exceptional finish but also long-term durability and performance. Each inspection phase contributes to a stronger foundation of quality assurance, reinforcing a commitment to excellence with every project.
Implementing rigorous quality control measures ensures flawless coating finishes and contributes to overall project success. By adopting these practices, professionals will experience lasting benefits, enhancing both the quality of work and client satisfaction.
Exceptional Ceramic Coating Installers in Fort Wayne, IN
When it comes to preserving the shine and durability of your vehicle, 14/69 Super Center in Fort Wayne, IN, has the expertise and premium ceramic coatings you need. Our top-tier products provide unmatched protection against harsh elements, ensuring your car maintains its pristine look for years to come. Don’t settle for less—trust the professionals who are committed to delivering a flawless finish and long-lasting results. Visit us today to see how our ceramic coating services can keep your vehicle looking new.